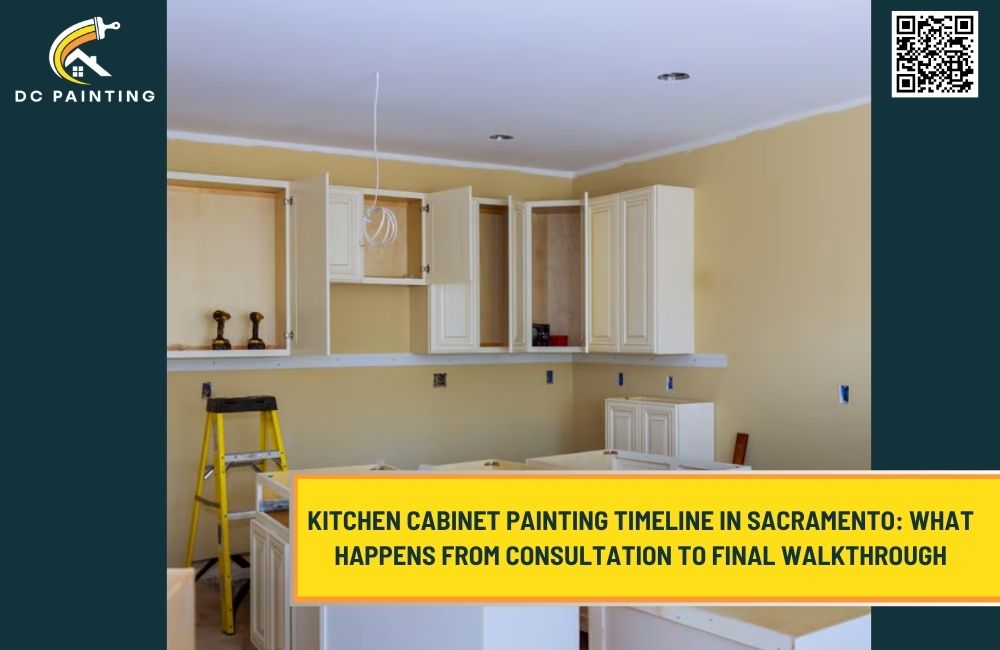
Kitchen Cabinet Painting Timeline in Sacramento: What Happens From Consultation to Final Walkthrough
A professional cabinet project is easier to plan when homeowners know what happens at each stage. From the first inspection to the final walkthrough, Kitchen Cabinet Painting Services involve a sequence of decisions, preparation steps, coating stages, curing periods, and reinstallation tasks. For Sacramento homeowners, understanding that timeline helps with scheduling, kitchen access, color selection, and realistic expectations before work begins.
The Timeline Starts Before Any Paint Is Opened
The first phase is planning. A contractor should evaluate the existing cabinets, identify damage, discuss finish goals, and clarify what is included.
During this stage, homeowners should expect questions about:
Cabinet material
Existing paint or stain
Current hardware
Color preferences
Surface damage
Kitchen access
Household schedule
Areas that receive heavy use
Whether cabinet interiors are included
This early conversation helps determine whether the project is a straightforward repaint or whether more extensive preparation is needed.
Consultation Day: Inspecting the Kitchen
A good consultation is more than a door count.
The contractor should look for grease buildup, peeling coatings, loose veneer, water exposure, worn corners, misaligned doors, damaged drawer fronts, and previous repairs.
Homeowners searching for Cabinet Painting Near Me should use this visit to compare how carefully each contractor evaluates the space. A detailed inspection usually produces a more accurate scope than a quick estimate based only on photos.
What Should Be Decided During the Consultation?
Key decisions may include:
Paint color
Sheen level
Hardware changes
Door and drawer treatment
Surface repairs
Application method
Project access
Expected completion sequence
If the cabinets are heavily worn, Cabinet Resurfacing and Painting may be recommended instead of a simple repaint.
Color Approval Comes Next
Once the project direction is clear, homeowners should finalize the color before preparation begins.
Samples should be reviewed beside the backsplash, countertops, flooring, appliances, and wall paint. Sacramento’s strong natural light can make the same color look different throughout the day, so viewing samples in both morning and afternoon conditions is useful.
Custom Kitchen Cabinet Painting gives homeowners more flexibility, but custom color decisions should be completed early enough to avoid delays.
Pre-Project Preparation at Home
Before work starts, the contractor should explain what the homeowner needs to move or protect.
This may involve:
Clearing countertops
Removing fragile items
Emptying selected drawers
Moving small appliances
Creating a temporary food-preparation area
Keeping pets away from the work zone
Confirming parking or access for equipment
A clear pre-project checklist helps the first workday begin efficiently.
Day One: Labeling, Removal, and Protection
The active work usually begins with organization.
Doors and drawer fronts are labeled so they return to the correct location. Handles, knobs, pulls, and hinges are removed as needed. Floors, countertops, appliances, walls, and nearby openings are protected.
Professional Cabinet Painters should keep components organized from the beginning because reinstallation is easier when every door, hinge, and drawer front is tracked properly.
Cleaning Happens Before Sanding
Kitchen cabinets accumulate grease, oils, residue, and household cleaners over time. These contaminants must be removed before sanding or priming.
Cleaning may take longer in kitchens that see heavy cooking use, especially near:
Ranges
Microwaves
Trash pullouts
Sink cabinets
Pantry doors
Frequently touched drawers
This stage is important because sanding contaminated surfaces can spread grease rather than remove it.
Surface Preparation Takes Shape
After cleaning, the contractor can begin correcting the surfaces.
Preparation may include:
Filling chips
Repairing scratches
Smoothing old touch-ups
Correcting hardware holes
Reducing gloss
Sanding repaired areas
Addressing peeling coatings
Kitchen Cabinet Repainting depends heavily on this step. The final color may be the most visible part of the project, but surface quality is usually determined before the finish coats are applied.
Primer Day: Building the Base Layer
Primer creates the transition between the old surface and the new coating.
The product selected may depend on whether the cabinets are wood, MDF, laminate, veneer, or previously painted. It can also help block stains, improve adhesion, and create more even color coverage.
After primer dries, the painter may sand it lightly to improve smoothness before the finish coats begin.
Homeowners researching Kitchen Cabinet Refinishing Near Me should ask whether primer is part of the proposed system or whether the project involves a different refinishing method.
Finish Coats Are Applied in Stages
Cabinet finish application is rarely a one-step process.
Doors and drawer fronts may be sprayed in a controlled area while fixed cabinet frames are coated inside the home using spray, brush, roller, or a combination of methods.
The first finish coat establishes color and coverage. Additional coats build consistency and durability.
The exact schedule depends on:
Product drying time
Temperature
Airflow
Cabinet material
Color change
Surface complexity
The Best Cabinet Painters in Sacramento should follow the coating system’s requirements rather than rushing each layer simply to shorten the project.
Drying and Curing Are Different Parts of the Timeline
This distinction is important.
A coating can be dry enough for the next step while still not being fully cured. Curing is the period during which the finish continues to harden and develop resistance to daily use.
Homeowners may be able to use the kitchen before full cure, but the new finish should be treated gently.
During early curing:
Avoid strong cleaners
Do not slam doors
Keep moisture off cabinet surfaces
Avoid attaching adhesive accessories
Be careful around edges and handles
Affordable Kitchen Cabinet Painting should still include realistic cure-time guidance. A lower price should not mean rushing the finish into heavy use.
Reinstallation Brings the Kitchen Back Together
Once the coating is ready, doors and drawer fronts are returned to their original positions.
The contractor should check:
Door spacing
Drawer alignment
Handle placement
Hinge movement
Contact points
Edge clearance
Overall finish consistency
If the project includes new hardware, this is often when the visual transformation becomes most noticeable.
Kitchen Cabinet Makeover may combine repainting with new pulls, knobs, hinges, or soft-close upgrades for a more complete update.
The Final Walkthrough Is More Than a Quick Look
A professional final walkthrough should review both appearance and function.
Homeowners should inspect the kitchen under normal lighting and look at the cabinets from different angles.
Check for:
Even color
Consistent sheen
Clean edges
Smooth doors
Properly aligned drawers
Secure hardware
Complete touch-ups
Clean surrounding surfaces
Any small corrections should be identified before the project is closed.
How Long Can the Entire Project Take?
There is no single timeline for every kitchen.
Project length depends on:
Number of cabinets
Door style
Surface condition
Repair needs
Color change
Existing finish
Application method
Hardware updates
Drying requirements
A simple, well-maintained kitchen may move through the process faster than a heavily used kitchen with peeling paint, repairs, or a major dark-to-light color change.
What Can Cause Delays?
Some delays are avoidable, while others are part of doing the work correctly.
Common causes include:
Late color decisions
Unexpected surface damage
Additional repairs
Heavy grease contamination
Hardware changes
Slow product curing
Poor ventilation
Access restrictions
Homeowners can help by finalizing color and hardware early and following the contractor’s preparation instructions.
Frequently Asked Questions
Do I need to leave my home during cabinet painting?
Not always. It depends on the application method, ventilation setup, and size of the project. The contractor should explain which areas will remain accessible.
When can I start using the cabinets again?
Light use may resume before full cure, but the painter should provide product-specific guidance.
Can the timeline change after work begins?
Yes. Hidden damage, extra repairs, or coating issues may affect the schedule. Changes should be explained clearly.
Should hardware be selected before painting starts?
Yes, especially when new pulls or hinges require different hole spacing.
Can cabinet interiors be painted at the same time?
Yes, but interiors add labor, materials, drying time, and project complexity.
Plan the Timeline Before the First Workday
A well-managed cabinet project moves through planning, color approval, preparation, coating, curing, reinstallation, and inspection in a deliberate order. Understanding that sequence helps Sacramento homeowners plan meals, access, hardware decisions, and expectations without unnecessary surprises.
Detailed Coverage Painting serves Rio Linda, Sacramento, North Highlands, Roseville, Elk Grove, Folsom, Citrus Heights, and nearby communities. Schedule a consultation to review your cabinet condition, discuss your preferred finish, and build a realistic project timeline from the first walkthrough to the final inspection.
Detailed Coverage Painting
Address: 7231 24th St, Rio Linda, CA 95673, United States
Phone: +1 (916) 289-8790
